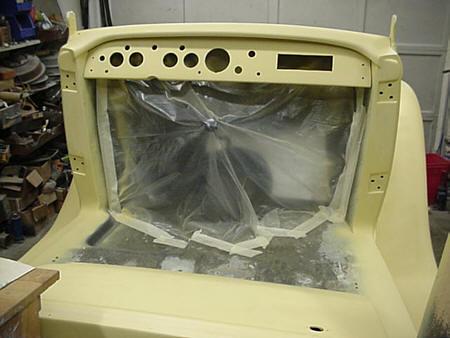
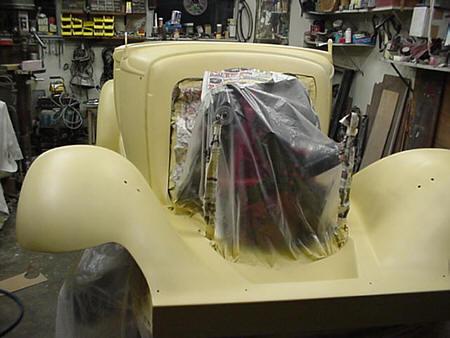
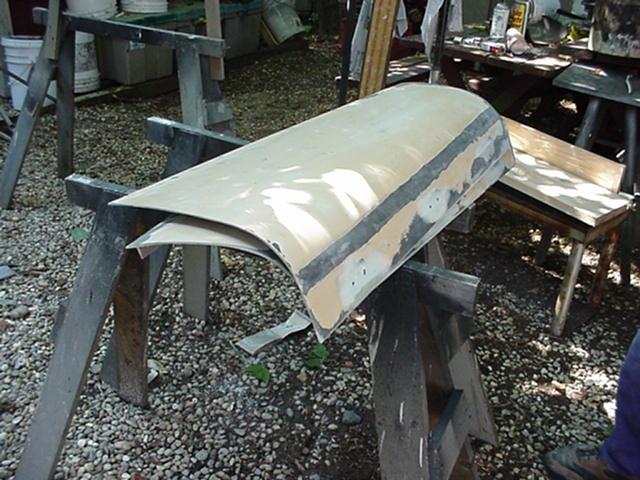
I made the decision to cut my
hood in half! I made a simple form with two pieces
of wood and then with fiber resin and mat made the 90
degree angles in the form. I had to make the front
and back brackets by welding some pieces of stainless
steel together with stainless steel mig wire then
filed them into shaped and then polished
them. I purchased a length of stainless steel hinge
and now I have the two piece hood that hinges in the
middle. I got carried away and smoothed the inside
so that when the hood is open it dosen't have that
fiberglass look anymore. More hood pics below.
|
This is a little list of what I did
already. Transmission mounts had to be fabricated
using Volvo mounts, some interior trim pieces made out of
wood. Filled in the spare tire side mounts with
fiberglass. Spare tire changed so that it cranks up under
the back
|
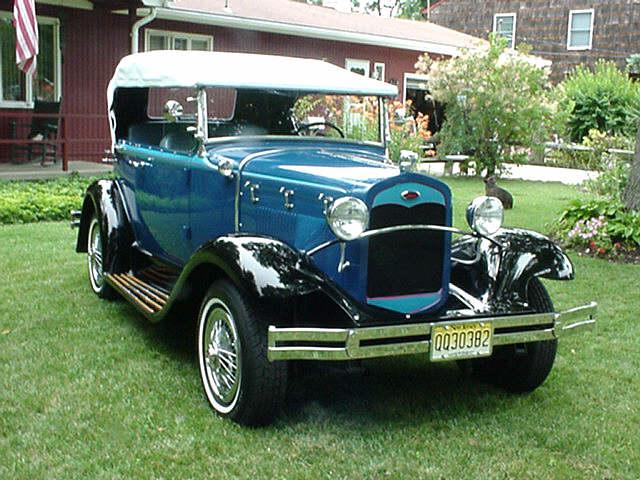
My paint color for the car will be dark
blue with black fenders and a lighter shade of blue for
the bodybelt accent.
|
|
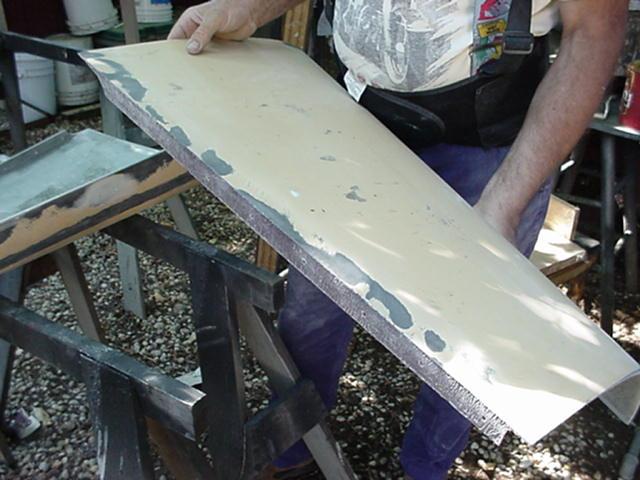
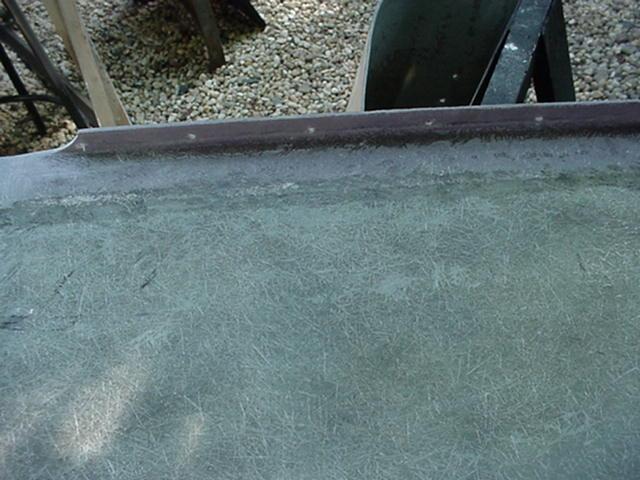
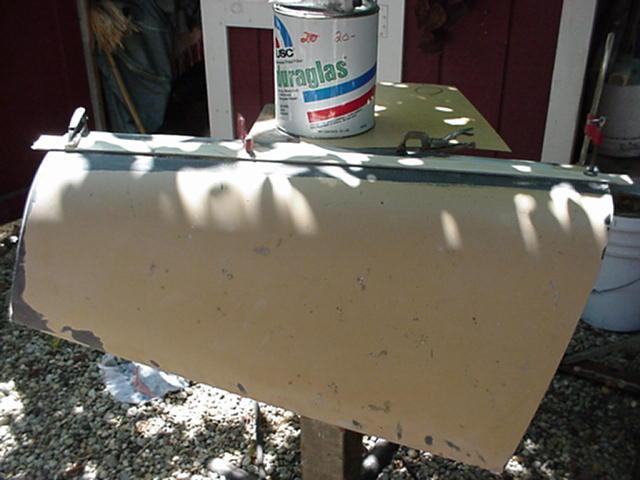
One piece hood split into hinged
hood - car 144

Guide clamped on hood for edge of saw base -- hood cut in
two.
|
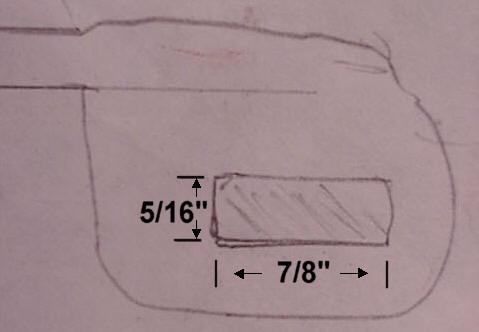
|
Lip formed to attach the piano hinge.
|
|
Under side view of the lip for the hinge.
|
|
Extending the body molding onto the
hood
Getting ready to add the little bump of decor trim along
side of the hood. (Gray area)
|
CAR 144 BODY BELT DID NOT
CONTINUE ON THE HOOD AS LATER MODELS DID. WHEN THE EARLY
MODELS ARE PAINTED THE ACCENT COLOR ON THE BODY BELT DOES
NOT CONTINUED ACROSS THE HOOD AND LOOKS UNFINISHED. I
DECIDED TO PUT MY OWN BODYBELT ON MY HOOD.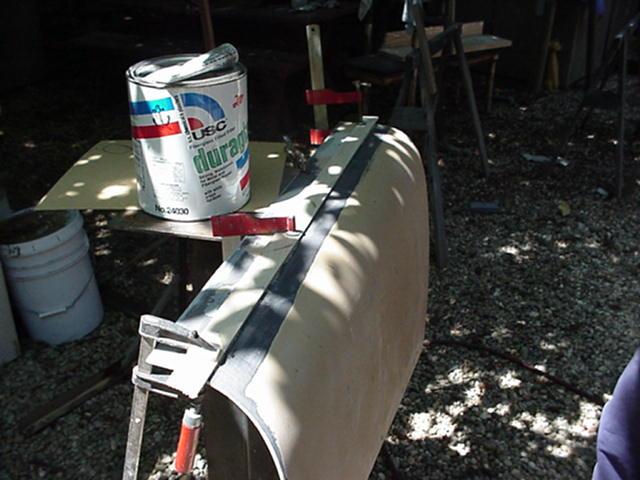
A guide clamped in place for the body belt trim.
|
|
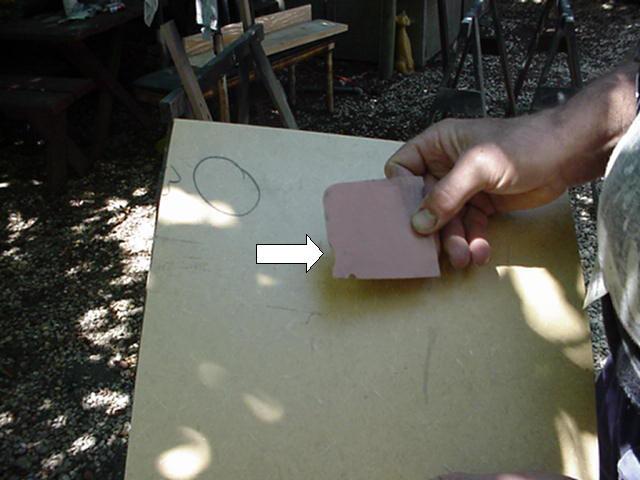
Squeegee mold for the raised body belt. Note the small
indent cut in the lower left of squeegee.
|
|

The finished body belt extension now continues the trim
line all the way to the car front.
|
|
Another view of the guide in place to add the bump along
the hood edge.
|
|

The bracket to hold the piano hinge on the car at the
rear (cowl) end of the hood. To the right is the money
that Fred will have left when the car is finished.
|
Modified air cleaner
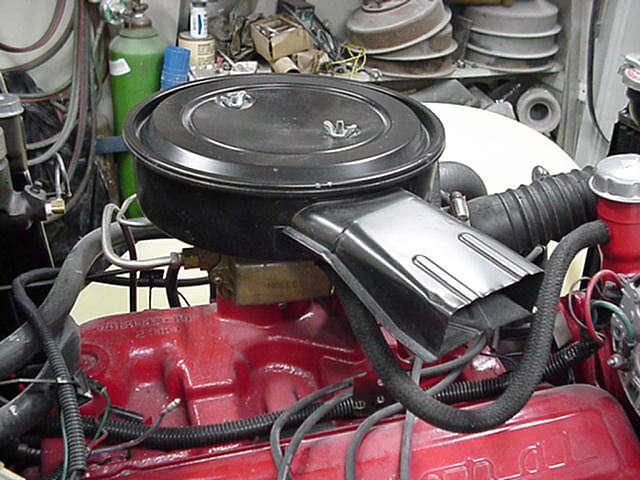
This is a Chevy air cleaner -- The base from the old air
cleaner was used (since it fit the carb). . I used
the part that mates up with the carburetor off the
aftermarket one that came with the car and welded it to a
plate and then to the Chevy air cleaner.
|
Inside door handle added to car 144
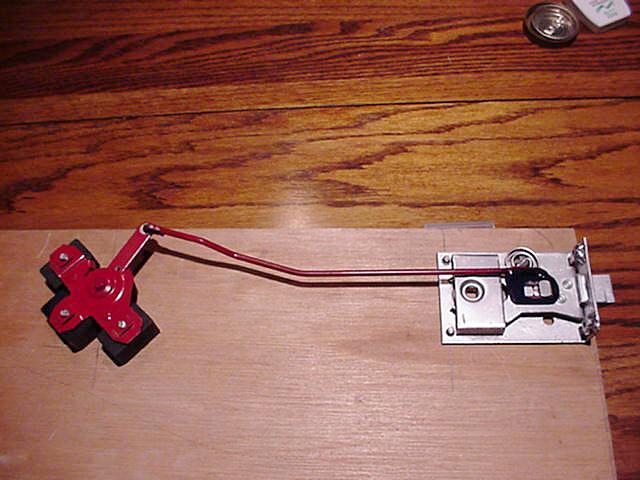
I have been busy working on the door
latch. Car 144 did not come with an interior door
handle. Went to the junk yard, got parts from a
80's vintage Chevy van. The colors of the parts are
for identifying what they are. Silver pieces are
original Glassic door latch, red are the parts from
the Chevy van, and the blue piece on the red rod is the
part I made and welded on (see drawing). The
black pieces are wood which are used as
spacers and could be cut to the thickness that is needed
to make the door handle fit up flush against the door
panel. They are all mounted to a board that is the same
thickness as the fiberglass which is then used as my
templet. I did this so I would know where to cut
the rod and weld it since I could not work inside the
door. They work excellent. On any of my
modifications I'm willing to answer any questions that
anyone would have.
|
|
Spare tire UNDER the car!
The spare tire project, on car 144,
the gas tank is on top of the frame behind the back seat.
There was available space between the two rear
springs and the rear differential for a donut spare which
I crank up with the mechanism salvaged from a
Chevrolet S10 pickup and a bunch of bed iron frames cut
in various lengths. You may notice that I try to
use things on a low budget. The trick was finding a
donut spare with that 4 lug pattern. Sure enough it
did exist.
The first one I found was a steel wheel that I believe
was from a Acura.
Now I have a donut spare that is an aluminum wheel from
an old Mustang and if its re-drilled to fit the
International bolt pattern it will even be better than
the other one.
More pictures and info coming. |