| My air conditioning worked fine for several weeks, and
then one day when I returned from a drive, I heard a hissing noise up
front. It turned out that the freon (the 134A) was leaking out at a joint
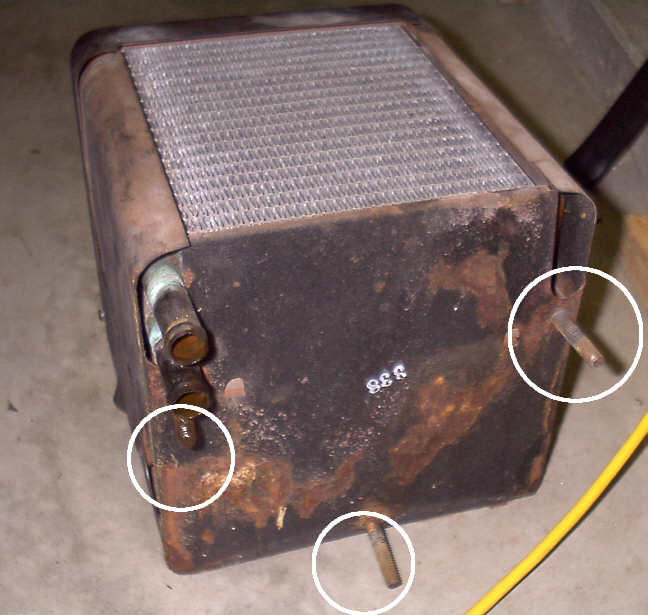
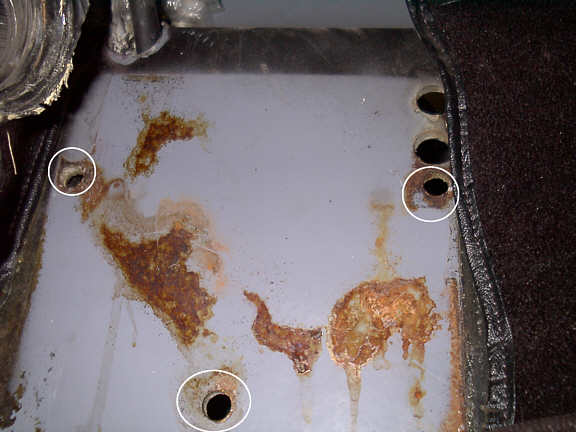
where the new drier had been hooked up. I had the mechanic tighten it down and re-charge the system. This time the cooling lasted over the weekend but was gone again by Monday. When the mechanic checked with his magic leak wand, he concluded that there was a leak under the dash -- the evaporator needed to be replaced. After much agonizing, I decided to try to replace ALL of the under dash stuff with new. Dave, car 1279, had replaced HIS with a combo heat and A/C unit from Vintage Air -- he liked his and mainly had gotten rid of his big old heater box from under the dash. Dave's heater coils had been leaking, and several people said that 25 years of water sitting in the old heater meant that any day IT could spring a leak and make a big wet mess in the car. Many people suggested that re-using Dave's old evaporator was just a temporary fix since his was also OLD, even though it might hold pressure right now. My plan was to try to install this myself -- probably a risky idea since my mechanical skill is right at about 0. Removal of the Heater box -- There are 3 bolts on the firewall inside the engine compartment that hook into the back of the heater box. The two heater hoses are clamped on to pieces of metal pipe that come from the back of the heater box and poke into the engine compartment. Remove the hoses, plug up the ends of the heater hoses, unbolt the 3 bolts and wiggle the unit out from under the dash. I also removed the radio so I could get at stuff, especially the old heater controls, which I undid - marking the wires with tape for future reference.
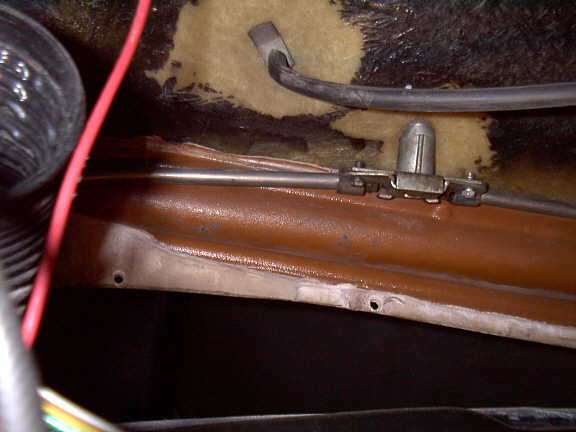
View of the back of the box - 3 mounting bolts circled. The hose connections on upper left poke thru the firewall into engine compartment. The heater box measures about 8
1/2 inches wide, 8 1/4 inches high
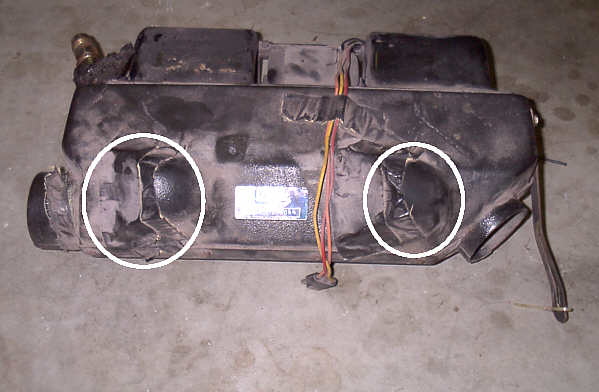
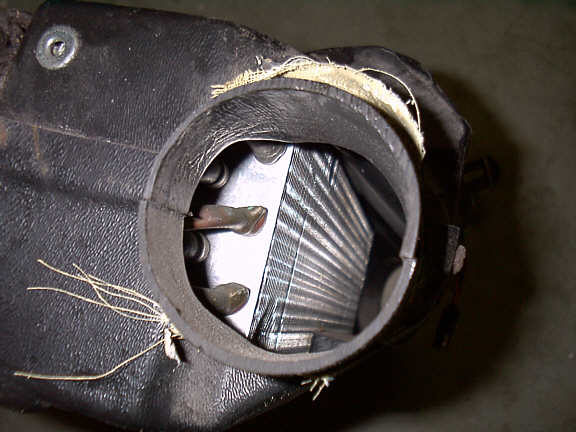
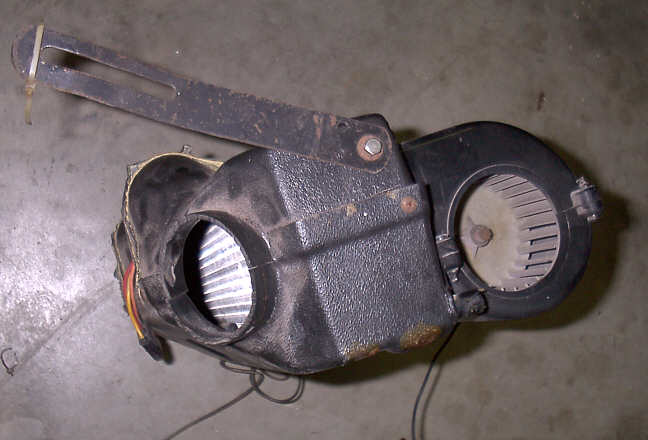
Once the heater box was out, and the heater controls, I proceeded on to the evaporator.
The evaporator and fan unit measure about 17
inches across I was told that the new refrigerant was not a hazardous material, so I just loosened a connection and let what remained fizz out. The hoses from the engine compartment go through the firewall and are covered with a putty like substance. I picked that putty off so that the hoses could be pulled into the engine compartment an inch or two.
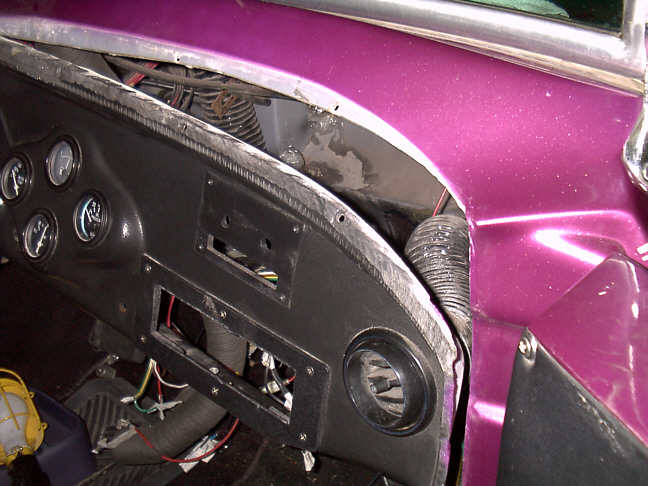
Removing the dashboard.
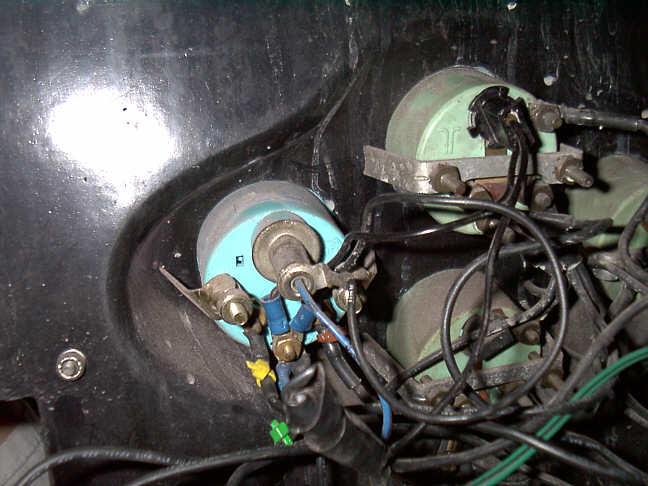
View of the back of the gauges. I don't know WHY there are so many wires in there -- I thought that there would be one hot wire, one ground and one for the light. I have yet to figure out what they all are. The left of the pic is the passenger side of the car. |
| A fellow Glassic owner put me in touch with Jon, from
Tampa, whose father owns Nostalgic Air in Ocala, Florida. Jon doesn't have
a storefront, but travels to shows and makes house calls in the area. In
conjunction with his father's shop, they also can provide mail order, so I
will document my experiences with them. Jon saw the pictures of the old parts and brought a unit to the house. It was heat and air and costs $250. Once he got here, we learned that there WERE options to be decided. One way to install this was with a knob that opened and closed the heat hose, like the original. Also available was a billet rectangular control panel - there was no extra cost for that, but the electrically operated heat valve for the heater hose was not in the box and a knob cover was missing for the control panel. The whole unit looked about the same size as the old evaporator. In the unit that he brough, the heater and air conditioner outlets were on the wrong side, and Jon had to take it back and order one the other way around. The unit that I wanted had the air conditioner fittings on the driver's side and the heat lines on the passenger side. What he brought was the reverse of that. He left the billet dash panel with me (there is a template included since the dashboard needs to have a rectangular hole cut in it. I will wait until I have the evaporator in hand before cutting the dash. Another option ($30) is an electric valve that switches on the duct work to the defroster setting on the switch. A free option was that he would provide a Y pipe for one duct and have the defrost on at all times. I decided to get the valve so that the defroster would work correctly. The control panel is pre-wired, and I have been assured that anyone can do this. We shall see. |