|
This page begins in 2014 with the Annexmater's car 689 and my efforts to
replace the badly rotting trim around the seats. I thought to
merely order some new welting, or piping, in vinyl and install it. Well,
it may exist in the market place, but was not readily available, so I
decided to make my own. The product in the car seems to be
old-time fender welting, and a product was available from a restoration
vendor, but it seemed very expensive, and the woven nature of the
product did not look that great in my view. I have measured the lengths needed, bought black vinyl from a fabric shop (along with some "upholstery" thread). I ordered a piping foot for my wife's Singer sewing machine ($15) -- I decided on 1/2 inch, similar to the existing size. and will get some 1/2 inch rope, either cloth or nylon. The sewing machine foot comes in many sizes to match the size cord used. It provides a half circle "house" to guide the rope along, and the needle goes to the side to keep everything together as you make your own piping. Photos to come later. I had thought about using 3/8 inch cord in my piping, but, before removing the back side panels, I can see that the fiberglass edge at the top where it meets the side panel is sharp and unfinished, so the larger size may cover that edge better. |
|
Here are before shots of my car. The trim had foam inside, I think, and
it has dried out and decomposed into small crusty pellets. The woven
fabric on the outside has rotted and dried out as well. Notice the
front door top which likely is an after-market fix.
|
| My preliminary measurements: (including a little to tuck in behind. Side of back seat along top ledge, then down to the carpet (see picture above) 63 inches each side of car. Door top and down each side (not on my car when I started) 60 inches each side - measured only down to where the red carpet is Front kick panel from the top of door frame to the floor. 28 inches each side of car. DASH trim top 56 inches. TOTAL - 358 inches or 30 feet of trim total. Trim pieces needed: 63, 63, 60, 60 28, 28, 56. |
| I estimated the cord in the trim to be 1/2 inch diameter and proceeded to order a foot for my cheap Singer sewing machine - After a delay of a couple of weeks it arrived. It had a problem in that the vinyl and cord would not really fit under it in the up position. I ground the slot a bit deeper so the foot would lift higher up and now it seems to work -- for the most part. I ended up buying 7/16 inch cord - the 3/8 seemed a bit small, and the 1/2 inch seemed huge. The result (before installing it in the car) is that it is smaller, but may actually match the car size better. Note - the thread kept bunching up on the back side of the sewing, until I adjusted the tension setting to LOW, about 2 out of 10 -- it had been set at 4 to 6 for normal use. |
|
Heavy duty upholstery thread, on top and in bobbin, a straight stitch, fairly long stitches and a "heavy duty" needle in the sewing machine. There are special needles for Leather, etc. but I got tired of the special requirements and the multi-assortment at Target worked fine. I got a zipper foot also (a one-sided foot - that lets you get up close to obstacles, like the wad of rope. It did ok, but not as well as the special welting or cording foot. Next time I would get an even bigger size (more than 1/2 inch) but there were also clearance issues on my bottom of the line Singer. I ended up grinding the groove for the rope deeper, the notch to mount it (so I could lift it up higher to get the rope under it) and a piece of the support since the thumb bolt hit the foot when I tried to slide it up higher.
left is the original foot on the machine, and the special foot cocked back next to it, so you can see the groove and the needle hole right at the edge of the groove. This was before I ground on it. Note: the original foot has a groove so you can pass the thread down under. With the new foot, you have to feed the thread from the needle point down through that hole and then out toward the side. |
 right you can see the process. the yellow line is because the pic was too bright even for PhotoShop, so I drew in the rope. Notice how the foot is nowhere near sitting on the surface of the sewing machine. It worked ok anyhow. I used 3 inch strip of vinyl which left plenty for being off sometimes, and I can cut down as much as I want. Finished lengths of the welting are to the left. |
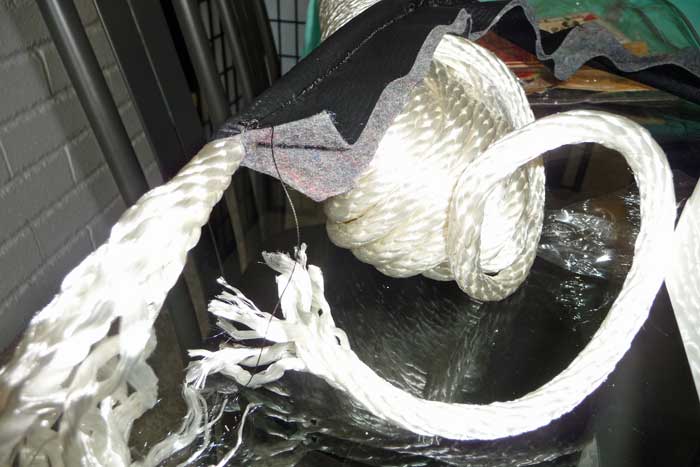 left is the gob of rope from Lowes ($20 or so for 100 feet) 50 ft was not available, and there was some waste as this stuff unravels easily, and I left some hanging out each end so I can "taper it" if necessary by cutting some strands down. A finished piece is laying on the rope. |
|
REMOVING THE REAR SEAT Generation 1 cars (International based cars) In 2015, Wayne, the owner of car 141 had a fix for broken angle brackets on his rear set. My Gen 2 car had no angle brackets so I asked him for details:
THAT DESCRIPTION goes with his solution:
~~~~~~~~~~~~~~~~~~~~~~~~~~~~~~~~~~~~~~~~~~~~~~~~~~~~ .Generation 2 car #689,
I checked my favorite reference source (uh, the Annex) and found that Joel (who is Joel?) had said that there were two bolts up in the back of the tub. Well, that seat-back was not meant to be removed! I had to remove the wheels and reach waaay up near the top of the space between the inner and outer panels of the back part of the "tub".
above: this hard-to-figure picture is looking UP from the ground level car 689, - the white in the lower right corner is the frame, and you are looking skyward in between the inner and outer skins of the back of the Phaeton.-
The bottom yellow circled bolt is one of the seat belt connectors and the above yellow lightened smaller bolt is at the top, about where your shoulder blades would be if you were sitting in the back seat. I used a (7/16" I think) long neck quarter inch socket and ratchet to loosen them - one on the drivers side, one on passenger side- they both came out differently since the passenger bolt was stuck and unscrewed the whole thing. Some liquid wrench might have helped if you could reach that far. BE SURE YOUR CAR IS FULLY SECURED ON JACK STANDS BEFORE REACHING WAY UP IN THERE ! |
| Two bolts held the back in place at the top, and then I could lean
the back forward and lift it out.
above left: from the top as I loosened the bolt (not knowing what to expect). In this case the whole thing unscrewed first from the plywood back and eventually unscrewing the filler block. I will re-glue the block to the back, and oil the nut and bolt so it installs back like the driver's side. I assume the large holes in the plywood are so the foam can collapse when someone leans against the seat back in the back seat. |
|
Jacks to change tires In 2015 - It looks like all generations of Glassics / Replicars started out with a jack in order to lift the car and change tires. As close as I can tell, the Phaetons all had them in a compartment under the rear seat. The seem to have been bottle jacks that can be place under the frame to lift the car enough to change a tire. Generation 1 cars -- Here are comments in 2015 from Wayne, current owner of car 141
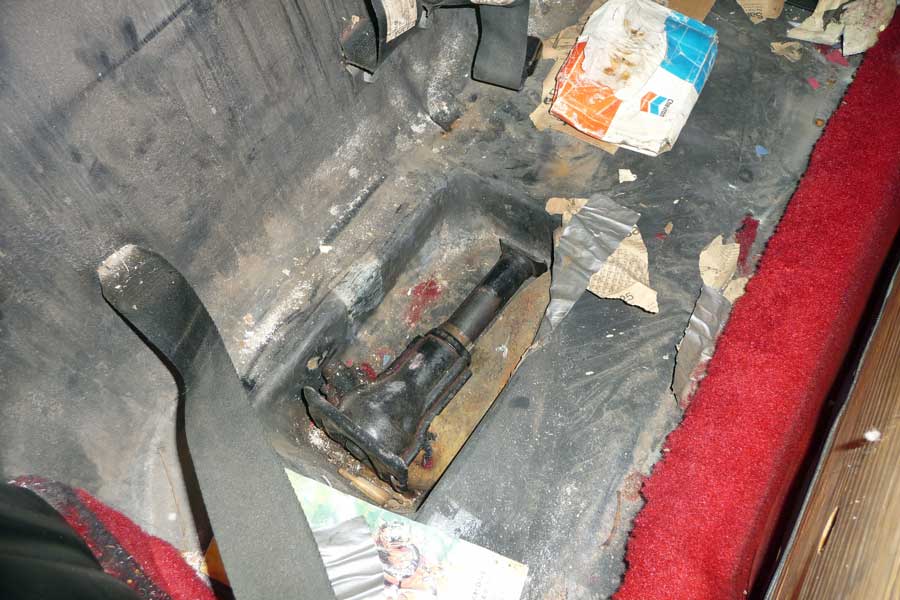
Generation 2 cars Car 689 rear seat removal- While I expected to find gold coins and such in the groove behind the seat, I got a treat anyhow. The bottom of the seat was not bolted in at all - but it was wedged in there very well. Tilting it forward yielded a surprise. While I had tried to lift up on the seat base before, with the back still in place, it had not budged. Apparently it was wedged in very tightly and should have been able to be lifted out.
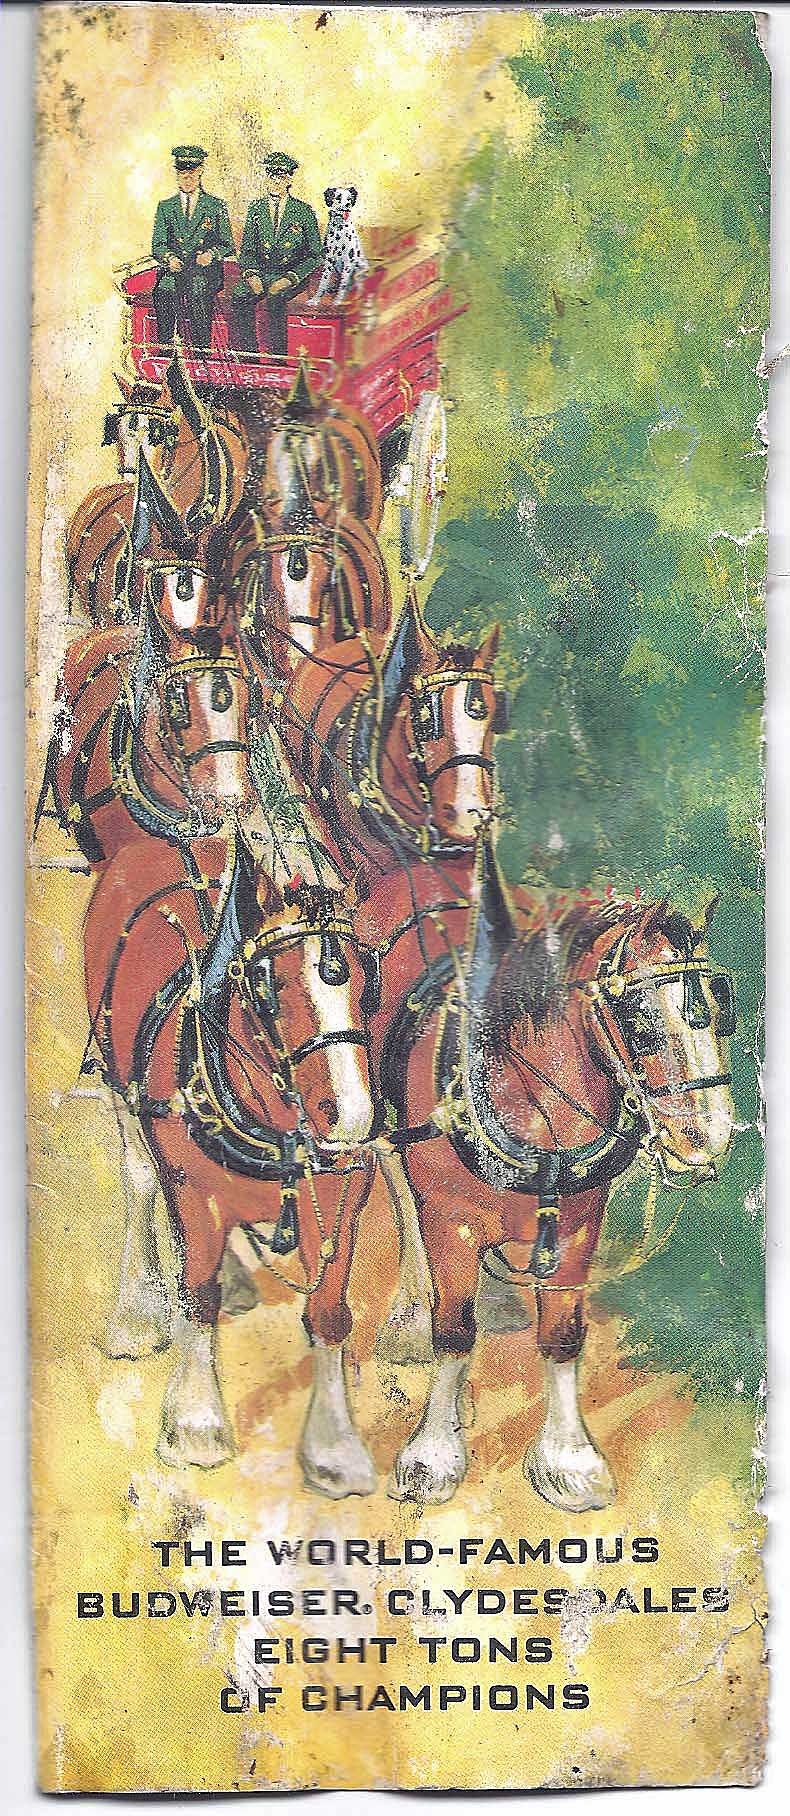
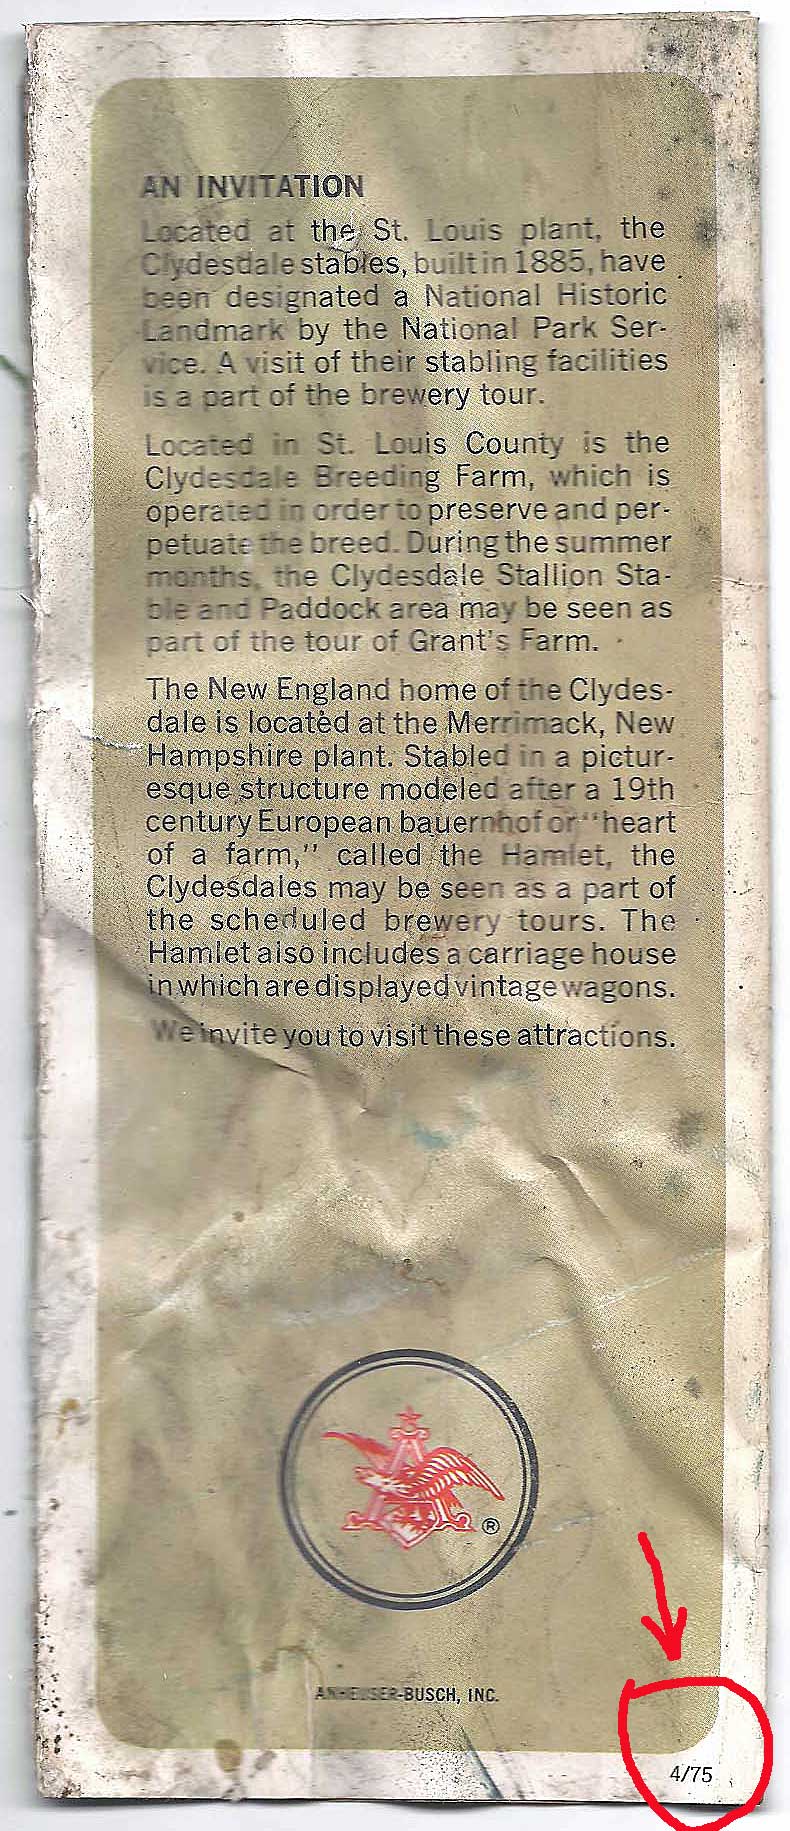
above: the seat bottom tilted forward revealed lots of old stuff. Newspaper (1973 vintage) had a jack handle and rod encased and duct-taped closed, likely so as not to rattle, and there was a Budweiser brochure (1974) and a box of tissues. In the indent space below the passenger side is a JACK. This makes me believe that the seat bottom MUST come out without taking the back off, otherwise you could never get the jack out of there in an emergency.
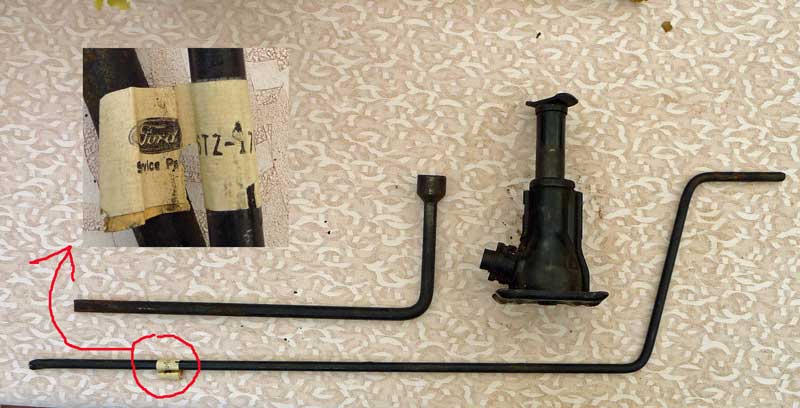
above are the three parts to the jack set. The tag, what I could read of it said Ford Service P?? C6TZ - 1? 7081-? The letters sound like 1966 Bronco or Pickup truck. This is likely original since it was well wrapped in early 1970s newspaper. Generations 3 and 4 Replicars -
|
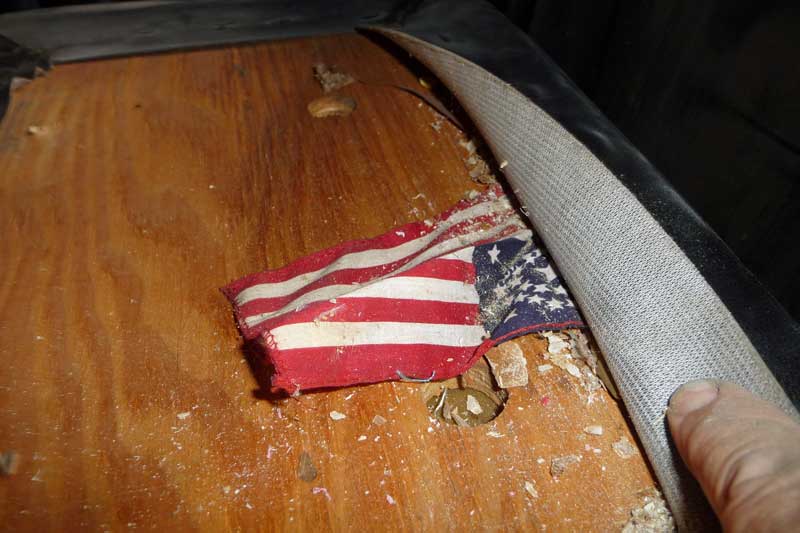
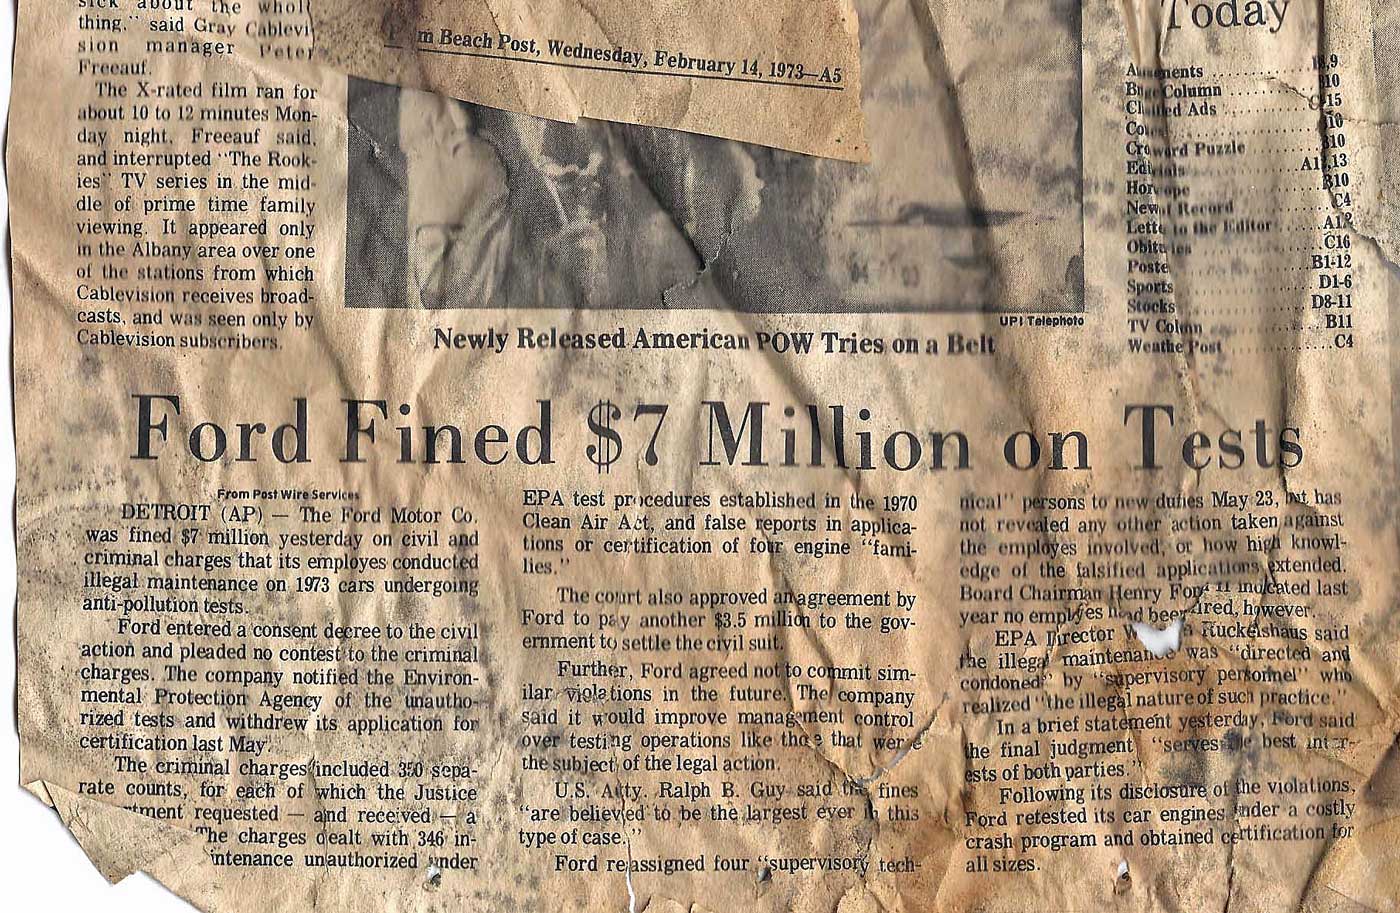
| Back now to what was under the seat of car 689 for all those years. Scans of interesting pieces of the newspaper - time capsule stuff. Click pictures for a large view. -- use the back arrow to return here.
|
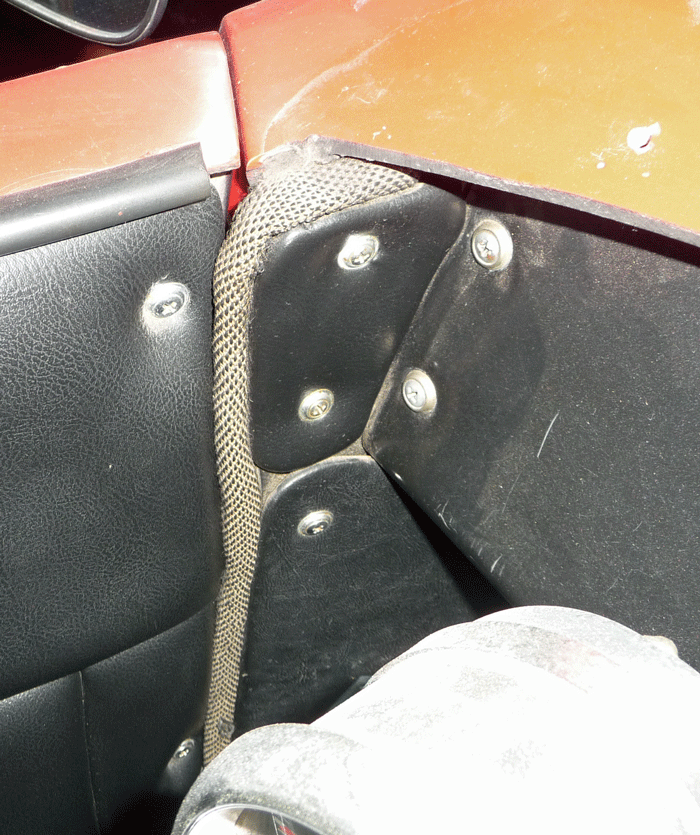
| I noticed that the welting on the side panels goes further down toward the floor, so my lengths are too short, but that part is never seen, so I likely will try to just taper it where it no longer is visible. |
| The very, very dry crusty newspaper and Bud brochure (Car 689 was
one of several made for Budweiser to give out as prizes to their
distributors) -- these items are ones to follow up on later, since the
ads are fun. I will scan some pieces like the $39 paint job ad,
and one about porn that got onto the TV by accident. Meanwhile, The next job is to remove the side panels and replace the welting. This worked pretty well. Here are a few pictures. I used a staple gun with 3/8 inch long staples (with chisel points, as opposed to ones that are flat ended) and some liquid nails glue for a caulking gun - clear color, quick stick, exterior - from the home repair store. It seems to work ok.
In all cases, the rope inside ended up being shorter than the covering vinyl to create a tapered end to each piece of trim. I had left the rope extending out when making the trim, but could have cut the rope at an angle and then started with just a fold of vinyl with the rope inside an inch or so from the end. It might have also been easier to get started under the sewing machine foot in that manner also.
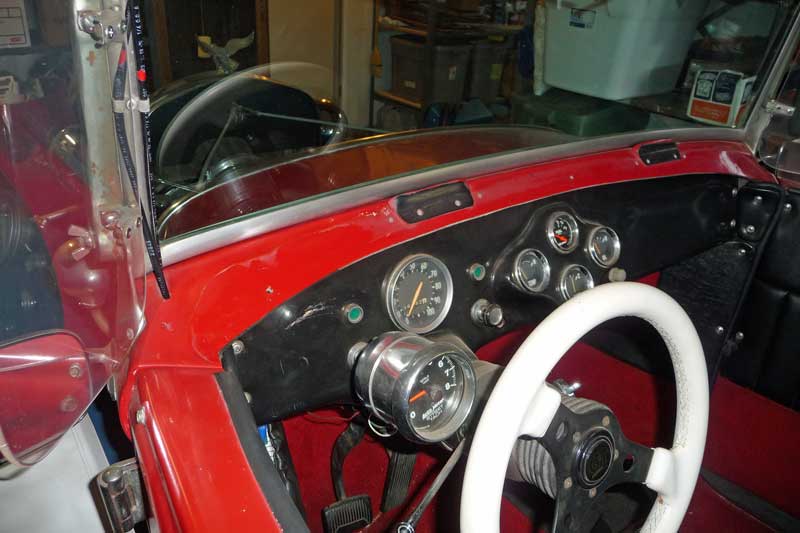
above is a view of the rear trim in place Glue and staples used on the long runs (I don't think that the original was glued, and I may not have needed to do that, but I had the glue already so I did both. While I was at it, I had removed the padded dash panel since the welting on it was ugly but still in place - however the vinyl had come un-glued at the bottom edge. I re-glued it, but had to clamp it for 24 hours, since it was pulled quite tight. I will put some tiny screws into pre-drilled (by me) holes in a few places just to give it more strength to not pop loose again. The original trim was stapled on and there were some staples in the vinyl cover as well, but I found that staples into the fiberglass form did not work for me at all, so I just glued. I also decided NOT to replace the trim at this point since I don't think it will help the appearance. The photos are so you can see where the dash pad was attached to the dash. Actually, with decent pain, I am not sure this cover is needed at all.
A drop or two of oil on the threads of the bolts will make the re-install easier.
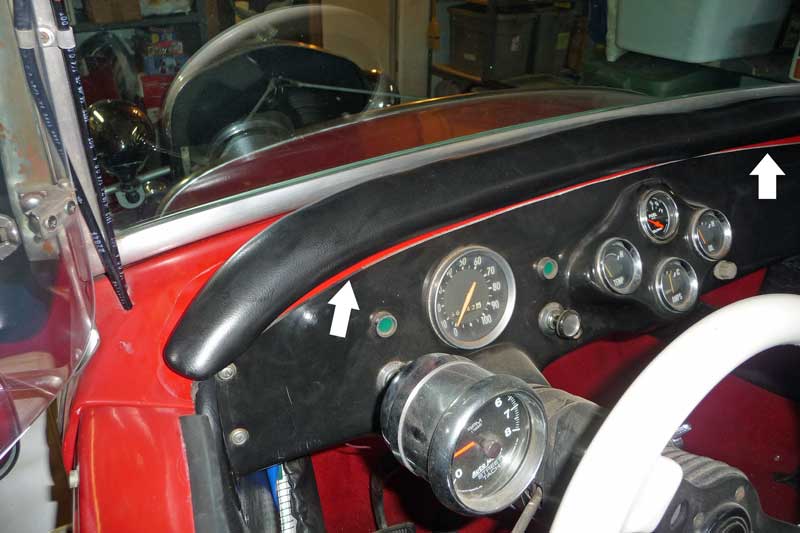
Well, on the left, above is with nothing on dash top. On the right is the dash pad replaced, but without the welting trim. Now we can see what the trim was doing there -- you can see the dash peeking below the padding. I have two types of U-shaped edge cover trim in the garage, a black rubber trim that was on the edge of glass that came off the truck topper that I used to make my fiberglass top, and white that I had bought - it has the grippers on the inside. I was going to use one of them to trim cover that edge - but neither fit right. The black looked good, but was not firm enough to stay put, and the white was for a thinner material and bulged out. Since I made extra welting, I may just glue it in place along the bottom. Note - Not surprisingly, the bolts protruding from the back started to spin a little when I put this back on (before even thinking about a wrench) so it needs to be put back delicately, or perhaps a drop of epoxy at the base before re-installing the trim. |


 on the left are the before and after, and to the right is the top piece
(probably from the passenger side) with it turned around so you can see
how the trim is stapled on the back. The rest of the piece toward the
bottom was merely glued to the fiberglass (at one time) with no staples
and the kick panel sandwiched over the top.
on the left are the before and after, and to the right is the top piece
(probably from the passenger side) with it turned around so you can see
how the trim is stapled on the back. The rest of the piece toward the
bottom was merely glued to the fiberglass (at one time) with no staples
and the kick panel sandwiched over the top.