
I began with a laundry basket from KMart. I wanted a
rounded bottom and rounded ends. This basket as a bit
longer than I would have liked. This became the mold for
the dash addition.
|

This lucky yard-sale find was the key ingredient.This
person had boat stuff for sale, so I guess
that this can be found in a boat accessory store. I cut
out the part of the laundry tub that I would use.
|

Yes, the box was too deep, but was easily cut with a
circular saw and the back riveted back
in place.
|
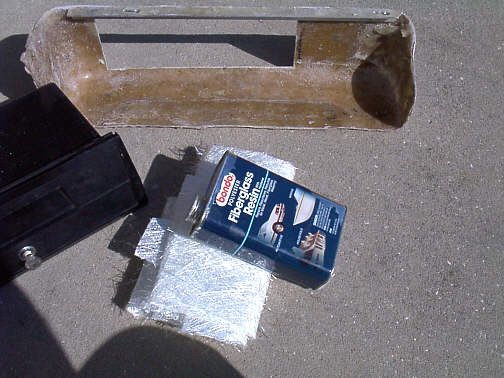
Here are my ingredients. I plugged up the holes in the
basket with shipping tape, greased the mold with
car grease and built up several layers of fiberglass mat
material. WEAR GLOVES - this stuff does NOT
come off your hands. A piece of angle aluminum made the
fastening-on part.
|
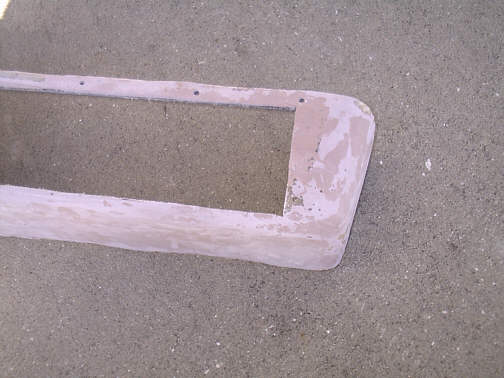
I covered the matting with bondo and began sanding it
smooth. A patient person would have
completed the sanding-building up, sanding again process.
|

an inner view shows the aluminum bar with pre-drilled
holes for the glove box, and you can barely
see slotted holes where it will slide on under the dash.
|
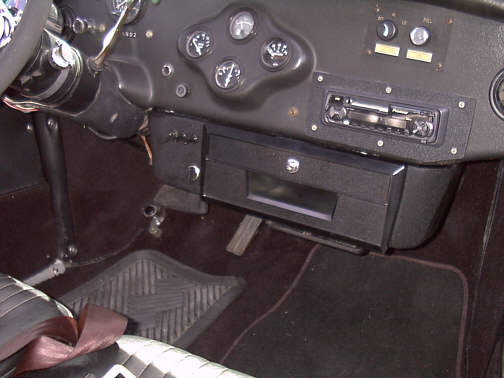
Some crinkle paint from the auto supply store made it
more or less match the dash.
The driver's side has switches for purple lights etc, and
a cigarette lighter for my
essential musical horn or lighted dice.
|
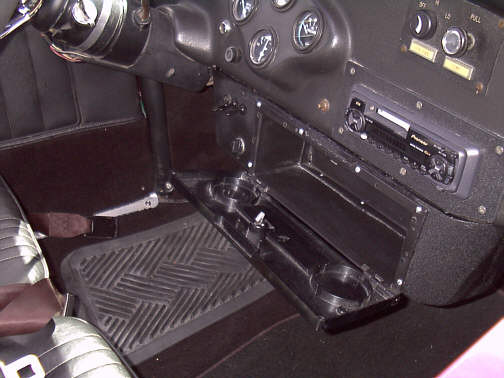
The new addition slips on and off the keyed bolts under
the dash (so I can get at the electric stuff) and
is held in place with an angle bracket underneath screwed
into the heater box. I had to cut out a bit of
the bottom of the addition so that the heater box door
could be pulled open.
|
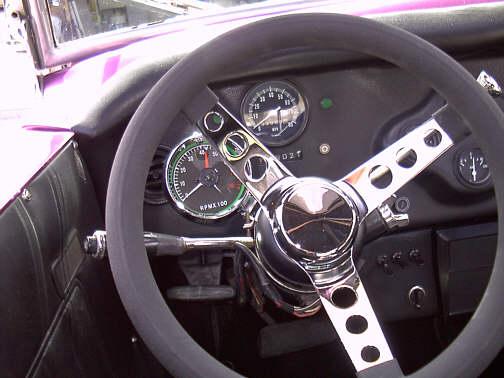
This view is mostly of my car-store after-market steering
wheel and my cheap but useful
tachometer ($25 from eBay). There is room for more
switches in the new dash, should I need them.
|
| This was a necessary addition for my garage clicker
and cell phone etc. -- Take your time building and
sanding to get a nice finish. The wrinkle paint does not
hide many imperfections. Of course, hiding that ugly
heater box was just a nice bonus. |